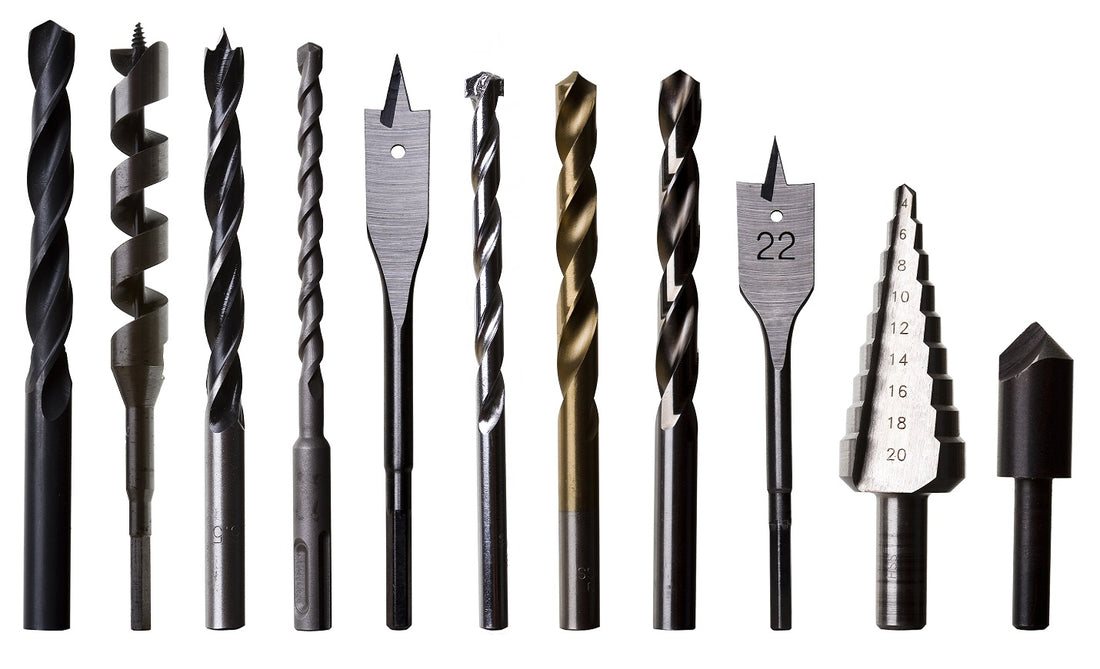
With all the different kinds of drill bits out there, it’s no surprise that some people are confused about what kinds of drill bits should go with what kinds of drills and so on. After all, how complicated can it be to drill a hole in a wall?
Well, the truth is that there are many reasons why drill bits have so many different sizes. You don’t want to do things the wrong way and end up with an irreparable hole in your wall, damage to your tools or equipment, or, worst of all, an injury to yourself or one of your workers.
By following this guide and ensuring you’re always doing things correctly regarding drill bits, you can avoid unfortunate accidents and issues. Let’s get into the details!
What Size for a ¼”-20 Tap?
Let’s start by answering the titular question: what size do you need for a ¼” -20 tap? Well, the answer is that the ideal size is a #7 drill bit with a diameter of 13/64”.
But what exactly do these numbers mean, and why do they matter? Let’s get into what a tap is, why drill bits are important, and other essential questions that need to be answered.

What Is a Tap?
Taps are an essential part of drilling. You put them on the end of a power drill to remove material from a wall or surface that you’re trying to drill a hole into.
In other words, they are the penetrating object that ensures your drilling operation is a success, and they need to be appropriately sized to ensure everything goes smoothly.
Taps may sound simple in concept, but they’re surprisingly complicated. They are made up of a unique blend of grooves and tapping threads that allow you to fit screws and bolts into your drilled holes properly.
Without these tapping threads and grooves, your drilled hole would be pretty useless for holding anything of value. Many types of taps have a wide range of uses, but we’ll get into that later.
What Do the Numbers Mean?
Let’s break down the numbers that define a ¼”- 20 tap. Firstly, the quarter-inch refers to the diameter of a tap’s thread in inches. This lets you know how wide the resulting thread will be once your hole is drilled.
In other words, you know what kind of drill bit you’ll need and what size screws and bolts you’ll need to fill your drilled hole appropriately. The “20” refers to the overall count of threads per inch.
With these two numbers, you have all the information you could need about what kind of drill bit you’ll require, what size screws you’ll need to fill the drilled holes, and more.
Different Types of Drill Bits
Now that we know what the numbers mean when talking about taps and understand a bit more about them and their purpose, let’s get into drill bit sizes themselves.
There are many different sizes of drill bits, and to break them all down right now would be very time-consuming, but it’s important to remember the basics. We'll be talking about a few very common types of drill bits.
They include twist bits–which are probably the most common drill bit you’ll encounter–spade, and step bits. Between these three types of drill bits, you can perform about 90% of all drilling tasks you could need.
These tasks include drilling multiple holes of different sizes and drilling various shapes with different bit types.

The Basics of How to Drill
While modern power tools make drilling much more straightforward than it used to be, you still want to take the proper precautions when drilling. Always wear protective eyewear – especially if you’re making holes in a metal surface.
Metal can spark and send up tiny shavings into the air that can do quite a lot of damage if you leave your vital parts uncovered – so cover up!
Once you’re safe, properly clamp down whatever you’re drilling, or ensure that it’s in a stable position. You never want the object you’re drilling to slip out of place for obvious reasons.
If a piece of wood or metal goes where it isn’t supposed to, then your drill and its sharp, pointy bit might do the same. You’ll want to correctly measure and mark the spot you’re drilling into with a marker, pencil, or pen.
Even a piece of tape can do the trick – just make sure that whatever you use to make your mark isn’t too slippery so that it can’t cause your bit to slip. Sometimes, it can help to use a hammer to make a slight divot or indentation as a mark that your bit can comfortably slip into. This can save quite a bit of headache in the long run.
You always want your drill to approach its intended target at a 90-degree angle. Not only does this ensure clean, complete hole drilling, but it will also help prevent slippage and possible accidents. Staying safe is paramount.
Drilling Is an Essential Part of Many DIY Projects
We hope this short guide on tap drill bit sizes was helpful to you. Drilling can be a slightly intimidating process with all the different drill bit sizes and types of drills and taps available.
However, that doesn’t mean you need to avoid the task forever. Once you know just a bit about how the process works, it will make much more sense. Thanks for reading, and good luck drilling out your future holes!

